
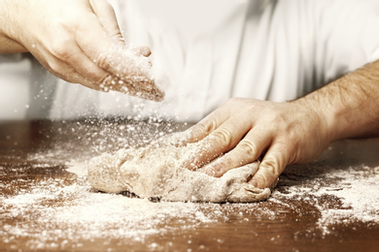
There is a reason people say something is "the best thing since sliced bread." A good loaf is one of the most satisfying things you can make at home, and the smell of bread baking fills the whole house. If you have never baked bread before, it can seem mysterious, with talk of proofing, kneading and gluten. In reality, a basic loaf needs only four ingredients and a little patience. This beginner's guide explains each step and gives you a reliable sandwich loaf recipe to start with.
The four ingredients of bread
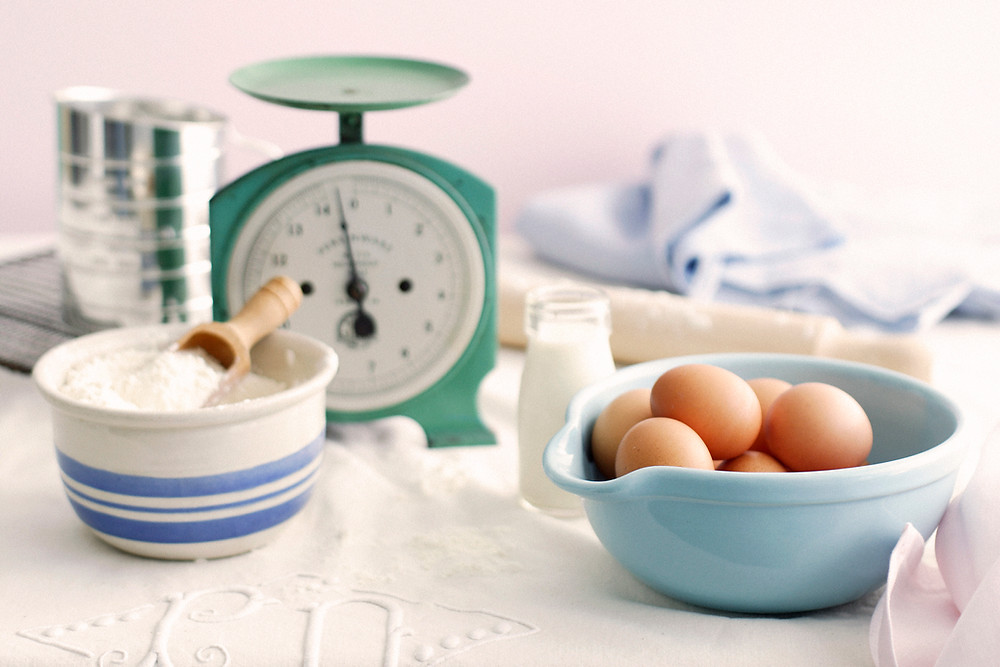
- Flour. Bread flour has more protein than all-purpose flour, which builds a stronger gluten network and gives a taller, chewier loaf. All-purpose flour also works; the bread will just be a little softer.
- Water. Warm water, around 95 to 105°F (35 to 40°C), wakes up the yeast. Water that is too hot can kill it.
- Yeast. Instant yeast can be mixed straight into the flour. Active dry yeast is usually dissolved in the warm water first and left for a few minutes until foamy.
- Salt. Salt seasons the bread, controls the yeast and strengthens the dough. Bread without salt tastes flat.
Many sandwich loaves also include a spoonful of sugar or honey and a little oil or butter, which give a softer crumb and help the crust brown.
A simple sandwich loaf recipe
Ingredients (one 9 x 5-inch loaf)
- 500 g (about 4 cups) bread flour
- 7 g (2 1/4 teaspoons, one packet) instant yeast
- 10 g (1 3/4 teaspoons) fine salt
- 1 tablespoon sugar or honey
- 2 tablespoons olive oil or softened butter
- 320 to 340 ml (about 1 1/3 cups) warm water
Step 1: Mix the dough
Combine the flour, yeast, salt and sugar in a large bowl. Add the oil and most of the water and stir until a shaggy dough forms. Add the remaining water a little at a time if there are dry patches. The dough should feel soft and slightly tacky, but not wet.
Step 2: Knead until smooth and stretchy
Turn the dough onto a lightly floured counter. Push it away with the heel of your hand, fold it back over itself, give it a quarter turn and repeat. After about 10 minutes of kneading by hand, or 6 to 8 minutes with a stand mixer and dough hook, it will change from rough and sticky to smooth and elastic.
To check, use the windowpane test: stretch a small piece of dough between your fingers. If it stretches thin enough to let light through without tearing, the gluten is ready. If it tears quickly, knead for a few more minutes.
Step 3: The first rise
Place the dough in a lightly oiled bowl, cover it and leave it somewhere warm, away from drafts. In one to one and a half hours it should roughly double in size. Time is only a guide; a cool kitchen can take longer, and that is fine. A slower rise actually develops more flavor.
Step 4: Shape the loaf
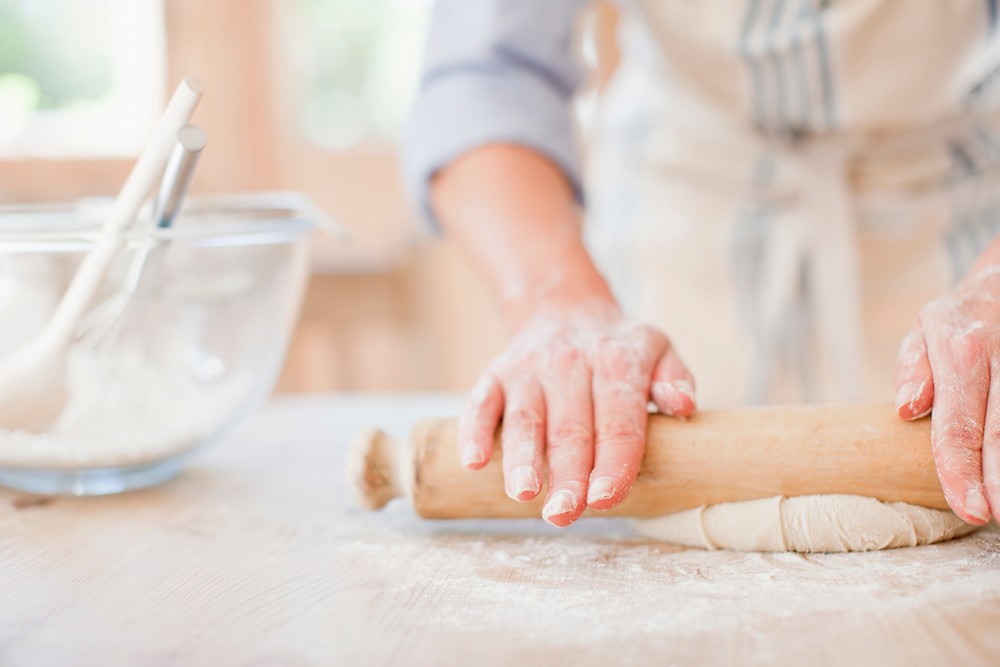
Gently press the risen dough into a rectangle about as wide as your loaf pan. Roll it up tightly from the short end, pinching the seam closed as you go, and tuck the ends under. Place it seam side down in a greased loaf pan. A tight shape gives an even, high-rising loaf.
Step 5: The second rise
Cover the pan and let the dough rise again for 45 to 60 minutes, until it domes about an inch above the rim. Use the poke test: press a floured finger gently into the side of the dough. If the dent springs back slowly and leaves a small impression, it is ready to bake. If it springs back immediately, give it more time. If it does not spring back at all, it has over-proofed, so bake it right away.
Step 6: Bake and cool
Bake at 400°F (200°C) for 30 to 35 minutes, until deep golden brown. The loaf should sound hollow when you tap the bottom, and an instant-read thermometer in the center should read about 190 to 200°F (88 to 93°C). Turn it out onto a wire rack and, as hard as it is, let it cool for at least an hour before slicing. The inside is still setting as it cools, and cutting too early gives a gummy crumb.
Troubleshooting your first loaves
- Dense and heavy: the dough was under-kneaded or did not rise long enough, or the yeast was old. Check the expiry date and give the dough time.
- Collapsed top: the loaf over-proofed during the second rise. Bake a little sooner next time.
- Pale crust: the oven was not fully preheated or the loaf came out too early. A little sugar or a milk wash also helps browning.
- Large holes under the crust: air was trapped while shaping. Press the dough out firmly and roll it tightly.
- Too much flour on the counter: adding lots of extra flour while kneading makes bread dry. A slightly tacky dough is normal.
Variations to try next
Once you are comfortable with the basic loaf, small changes open up many new breads. Swap a quarter of the flour for whole wheat flour for a nuttier loaf. Replace the water with milk for an extra-soft crumb. Knead in herbs, grated cheese or seeds, or shape the dough into rolls and bake them for 15 to 20 minutes. Brushing the top with melted butter as soon as it comes out of the oven gives a soft, shiny crust.
Storing homemade bread
Homemade bread has no preservatives, so it is best within two or three days. Keep it wrapped in a clean towel or a bread bag at room temperature. Avoid the refrigerator, which makes bread go stale faster. For longer storage, slice the cooled loaf, freeze it in a bag and toast slices straight from the freezer.
Enjoy the process
Bread baking rewards patience more than skill. Every loaf teaches you something about how the dough should feel, and before long you will not need to check the recipe. Start with this simple sandwich loaf, then branch out.
If your next baking project is something sweeter, read how to make the perfect pie crust or try one of our easy dessert recipes. And for the days when you would rather someone else did the baking, visit the Another Slice of Cake shop.
Comments