
A homemade pie crust has a reputation for being difficult, but it really comes down to a few principles: keep the fat cold, add just enough water, give the dough time to rest and handle it as little as possible. Once those ideas click, you can make a crisp, flaky, buttery crust for anything from a Thanksgiving pumpkin pie to a summer fruit pie. Here is how to do it, step by step.
Why cold butter is the secret
A flaky crust is made of thin layers of dough separated by small pieces of fat. In the oven, the water in the butter turns to steam and pushes those layers apart, which creates flakes. If the butter melts into the flour before baking, there is nothing to create those pockets and the crust bakes up dense and greasy. That is why every good pie crust method starts with cold butter, cold water and, on a warm day, even a chilled bowl.
Flaky crust or shortcrust?
There are two common styles of pastry for pies. An American-style flaky crust leaves visible pieces of butter in the dough for big, crisp layers. A British-style shortcrust pastry rubs the fat in more thoroughly, until the mixture looks like fine breadcrumbs, which gives a tender, crumbly, biscuit-like texture that holds a firm shape. Shortcrust is a classic choice for custard fillings such as pumpkin, and for rich nut fillings such as pecan. Both use the same basic ingredients; the difference is mainly in how far you work the butter into the flour.
All-butter pie crust recipe
This recipe makes enough for one double-crust 9-inch pie or two single crusts.
Ingredients
- 2 1/2 cups (315 g) all-purpose flour
- 1 teaspoon fine salt
- 1 tablespoon granulated sugar (optional, for sweet pies)
- 1 cup (226 g) cold unsalted butter, cut into 1/2-inch cubes
- 6 to 8 tablespoons ice water
Method
- Mix the dry ingredients. Whisk the flour, salt and sugar in a large bowl.
- Cut in the butter. Add the cold butter and work it in with a pastry cutter, two knives or your fingertips. For a flaky crust, stop when most pieces are the size of peas with a few larger flakes. For shortcrust, keep rubbing until the mixture looks like coarse breadcrumbs.
- Add the water slowly. Sprinkle in the ice water a tablespoon at a time, tossing with a fork. Stop when the dough holds together when you squeeze a handful. It should not feel sticky.
- Form and rest. Divide the dough in two, press each half into a flat disc and wrap tightly. Refrigerate for at least one hour, or up to two days. Resting relaxes the gluten so the crust does not shrink, and lets the flour hydrate evenly.
Rolling and shaping the crust
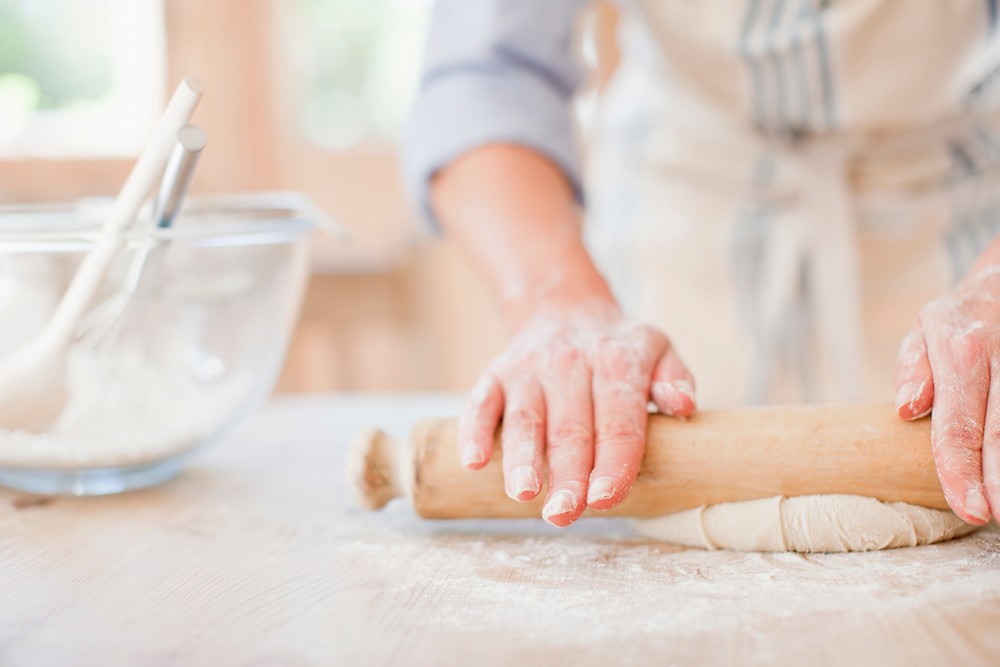
Let the chilled dough sit for five minutes so it is easier to roll. Lightly flour your work surface and rolling pin, then roll from the center outward, giving the dough a quarter turn every few strokes so it stays round and does not stick. Aim for a circle about 12 inches across and 1/8 inch thick.
To move it, roll the dough loosely around the rolling pin and unroll it over the pie dish. Ease it into the corners without stretching; stretched dough shrinks back in the oven. Trim the overhang to about 1 inch, fold it under and crimp the edge with your fingers or a fork. Chill the shaped crust for 20 to 30 minutes before baking. That second chill firms up the butter again and helps the crimped edge keep its shape.
When and how to blind bake
Blind baking means baking the crust before the filling goes in. It is essential for no-bake fillings such as cream pies, and highly recommended for wet custard fillings such as pumpkin, which can otherwise leave you with a soggy bottom.
- Prick the base with a fork, line it with parchment paper and fill it to the top with pie weights, dried beans or rice.
- Bake at 400°F (200°C) for about 15 to 20 minutes, until the edges are set and lightly colored.
- Remove the parchment and weights and bake for another 5 to 10 minutes, until the base looks dry.
- For a fully baked shell, continue until the whole crust is golden brown.
Brushing the warm, partially baked base with a little beaten egg white and returning it to the oven for one minute creates a seal that helps keep juicy fillings from soaking in.
Fixing common pie crust problems
- The crust shrank: the dough was stretched into the pan or not rested long enough. Ease it in gently and always chill before baking.
- It is tough or chewy: it was overworked or had too much water. Mix only until the dough just comes together.
- It cracks when rolling: the dough is too cold or a little dry. Let it warm slightly, and patch cracks with small scraps pressed into place.
- The bottom is soggy: blind bake the crust, bake the pie on a lower rack, or preheat a baking sheet and set the pie on it.
- The edges burn before the filling is set: cover the rim with strips of foil or a pie shield halfway through baking.
Making pie dough ahead
Pie dough is ideal for planning ahead. Wrapped discs keep in the refrigerator for up to two days and in the freezer for up to three months. Thaw frozen dough overnight in the refrigerator before rolling. During the holidays, having a few discs ready in the freezer turns pie-making into a quick job instead of a project.
Put your skills to work
Once you have made a crust or two, you will start to feel when the dough is right: cool, smooth and just holding together. Keep things cold, be patient with the resting times and do not worry if the first crimped edge is not perfect. It will still taste wonderful.
If the holidays are busy, our seasonal pies are made with a buttery shortcrust pastry: see the 9-inch pumpkin pie and the bourbon pecan pie, or browse everything in the shop. For more baking projects, read our beginner's guide to homemade bread.

Comments